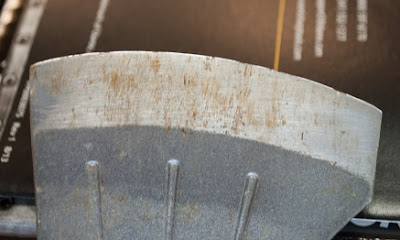
With the arrival of warm weather my
grass has redoubled its effort to make my yard an uneven carpet of green. Before getting the lawn mower out I needed to
resharpen the blade.
I’ve stopped taking it to a lawn or
garden center and getting the blade resharpened. I bought a little attachment for my Dremel
tool. The attachment screws on to the
front of the tool and come with a special diameter grinding stone. A guide helps me hold the blade angle and
lets me grind out the really dull and damaged
areas.
 |
| Start your sharpening! |
I clamp the blade down on a sheet
of plywood and run the Dremel grinding stone over the old edge several times
until the old discoloration is gone and so are the majority of nicks and gouges
in the edge. I use the plastic guide to hold
the angle, but perfection isn’t required.
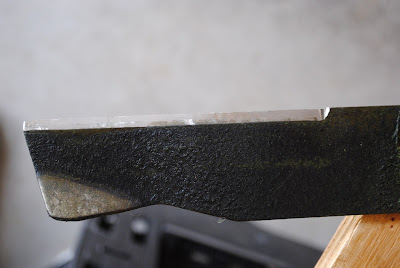
A fine dry stone pulls the wire edge off the other side. I should mention my mower blade is a classic
chisel grind. I test the sharpness by
shaving the edge of the plywood board I use as a work station.
The last step before reinstalling
the blade is to check the balance. If one side of the blade was significantly
heavier, the mower would vibrate and damage itself, perhaps even break a blade. The heavy side just gets another pass and a
second balance check. Repeat as
required.
Since I was in sharpening mode I
got out my Ken Onion Work Sharp blade grinder and sharpened my hatchet.
As you know I recently discovered
my SOG camp hatchet was extremely dull but luckily my friend Derrick brought
his Gerber hatchet. Having a fire in the
fireplace as part of the evening’s entertainment and as a back-up to winter
storm power failures is a nice luxury.
The price you pay for this is splitting wood into suitable burning
size. A sharp hatchet is required and
mine needed a good sharpening.
 |
| Every fire deserves a sharp hatchet |
 |
| Before sharpening, note nicks in blade |
The blade looked good so I changed
to a medium grit. That took a little
more off and I was satisfied. But how
you really tell if your axe is sharp?
I decided performance was the only
way. I grabbed a section of a
landscaping tie and a length of pine 2X4 and tried it out. I was less than impressed.
The hatchet didn’t cut the wood
fibers, but crushed them. Definitely not
sharp. I changed the angle to 10 degrees
and repeated the process. This angle
worked better.
 |
| bye-bye nicks! |
While I was touching up the edge I
noticed the cutting edge wasn’t centered in the blade’s secondary bevel. This typically happens when one side of a
blade is sharpened more than the other.
I played with it for a while and discovered one side the bevel is flat
ground while the other is slightly convex.
This bevel asymmetry is the cause for the non-centered edge.
I worked on the edge a bit more and
called it finished. It’s not perfect,
but it’s sharper than it was. Chopping
pine boards may not be the best material to judge hatchet performance. I’ll look around for actual logs to try it
out.
